The PyMunk library is a very interesting physics simulation engine! It’s perfect to simulate. It’s perfect to simulate rigid bodies and its interactions, like colisions, in a 2D environment.
In this post, I’m going to combine it with pyglet (games and visual application library) for a demonstration on how to simulate an interactive Simple Pendulum.
The first step is to install dependencies. We start by creating a new virtual environment (I’m using Python version 3.10.8):
$ python -m venv venv --prompt pendulum
$ source venv/bin/activate

(pendulum)$ pip install pyglet==1.5.27 pymunk==6.2.1
Then we create a module called simple_pendulum.py and start by importing the libraries:
import pymunk
import pyglet

from pyglet.window import key
from pymunk import Vec2d
from pymunk.pyglet_util import DrawOptions
Laying the initial foundation, we declare a new class that inherits from pyglet.window.Window and we run it as a Pyglet app.
The Window class accepts certain arguments to adjust the screen parameters. Since we’ll use constant parameters in this example, we can override __init__ and call super().__init__(), passing the class attributes:
class SimulationWindow(pyglet.window.Window):
CAPTION = "Fixed Pendulum Simulation."
WIDTH = 720
HEIGHT = 720
INTERVAL = 1.0 / 100 # 100 updates / second
FONT_SIZE = 16
FONT_COLOR = (255, 255, 255, 255)
def __init__(self):
super().__init__(
width=self.WIDTH, height=self.HEIGHT, caption=self.CAPTION
)
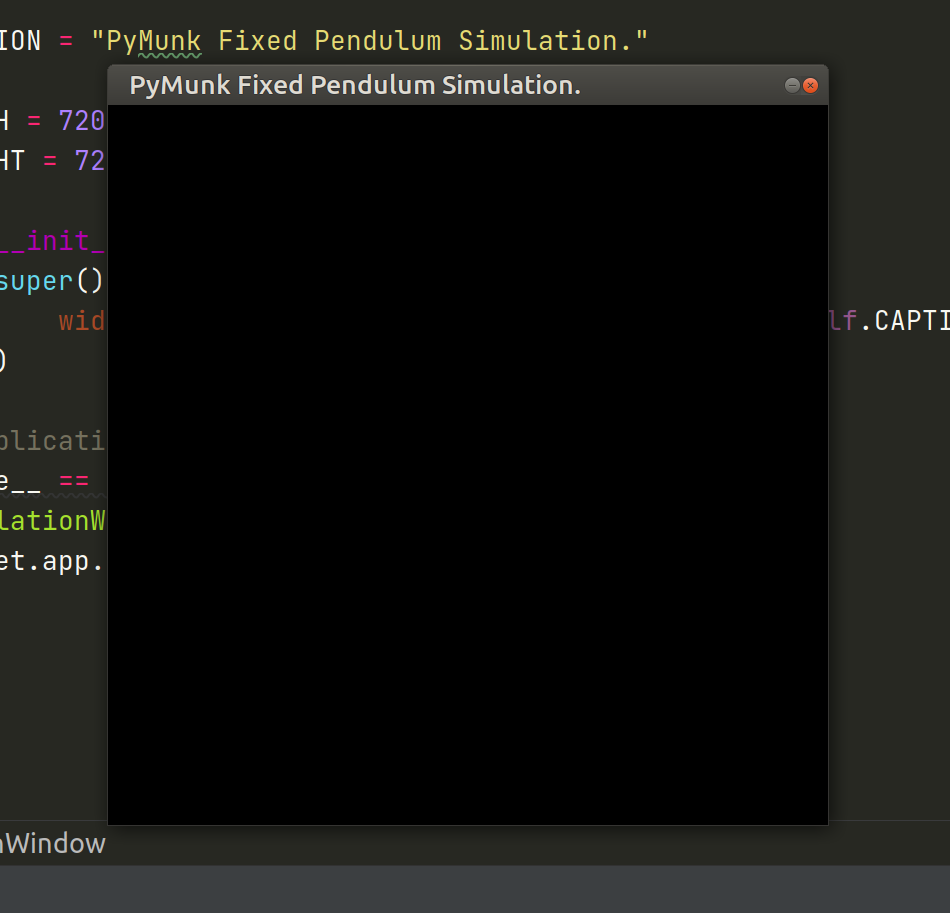
if __name__ == "__main__":
SimulationWindow()
pyglet.app.run()Running this module should spawn a new empty screen:
Next, we expand __init__ in order to create an instance of pymunk.Space:
    def __init__(self):
        super().__init__(
            width=self.WIDTH, height=self.HEIGHT, caption=self.CAPTION
        )

        self.space = pymunk.Space()
        self.space.gravity = Vec2d(0, -9807)  # mm/s²
Spaces are the basic unit of simulation. Bodies, Shapes and Constraints(Joints) are added to the space and they’re all simulated together, throughout time.
After creating the Space instance, we already define the gravity value, which is implemented as a constant acceleration applied to all defined bodies.
Notice that it’s defined as an instance of Vec2d. This is a pymunk class to represent 2D vectors. In this case, there’s only a vertical acceleration component, pointing down (negative y), with value 9807 mm/s², equivalent to Earth’s gravity.
It’s worth mentioning that
pymunkis unit-less, meaning it’s agnostic to physical units. It doesn’t matter which units are being used; If a value is passed insto a function that expects time and another value is passed inmmto a function that expects distance or position, then all the calculations will be in those units.Derived units, like velocity and acceleration, are calculated as combinations of those units.
The gravity was defined in mm/s² since distances and positions will be defined in mm.
Next, we’ll build our model and define its bodies and shapes. Let’s start by creating a new class:
class Pendulum:
    MASS = 0.100  # g
    FORCE = 10  # mN

    def __init__(self, space: pymunk.Space):
        self.space = space

        self._create_entities()
The MASS and FORCE attributes are constants we’ll use later. We receive the space instance in __init__ and we call _create_entities, where we’ll create bodies, shapes and junctions:
    def _create_entities(self) -> None:
        self.static_body = pymunk.Body(body_type=pymunk.Body.STATIC)
        self.static_body.position = (360, 360)

        moment = pymunk.moment_for_circle(
            mass=self.MASS, inner_radius=0, outer_radius=10.0
        )
        self.circle_body = pymunk.Body(mass=self.MASS, moment=moment)
        self.circle_body.position = (360, 50)

        circle_shape = pymunk.Circle(body=self.circle_body, radius=10.0)

        rod_joint = pymunk.constraints.PinJoint(
            a=self.static_body,
            b=self.circle_body,
        )

        self.space.add(
            self.static_body, self.circle_body, circle_shape, rod_joint
        )
The first entity is called static_body. It’s a static (immovable) point in the space, where we’ll attach our pendulum.
The
pymunk.Bodyclass is one of the library’s basic concepts. It contains all the physical properties representing the body (mass, position, rotation, velocity, etc…). It doesn’t define the shape of the object on its own, though.
This point is defined at position (360, 360), right in the center of the screen (considering WIDTH and HEIGHT constants). To have a simulation in mm, we can simply assume a 1:1 relation between px and mm.
Next, we’ll define the body for the Circle that will be at the end of the pendulum. Before creating a pymunk.Body instance, it’s necessary to calculate the moment of inertia, one of the required arguments to create a Dynamic body, via the pymunk.moment_for_circle function.
Different than static bodies, we don’t need to specify body_type for the Circle, since new bodies are created with pymunk.Body.DYNAMIC, by default.
This time we also create an instance of pymunk.Circle, a pymunk.Shape subclass. This will create a Circle shape and associate it to the previous body.
The main purpose of
Shapes in PyMunk is to calculate collisions. While this is not crucial for this particular simulation, the shape is also automatically rendered in Pyglet by the util function.
Finally, we define a pymunk.constraints.PinJoint between static_body and circle_body.
Constraints are entities that restrict the movement of certain bodies. There are many different constraints, which with a different purpose and behaviour.
The
PinJoint, in particular, keeps a constant distance between two bodies and is used to form the shaft of our pendulum.For more information, there’s the reference page.
Having created all entities, we use space.add to add them to our simulated space.
With the Pendulum class defined, we can continue with SimulationWindow:
    def __init__(self):
        super().__init__(
            width=self.WIDTH, height=self.HEIGHT, caption=self.CAPTION
        )

        self.space = pymunk.Space()
        self.space.gravity = Vec2d(0, -9807)  # mm/s²

        self.model = Pendulum(space=self.space)

        self.draw_options = DrawOptions()
        self.keyboard = key.KeyStateHandler()
        self.push_handlers(self.keyboard)

        pyglet.clock.schedule_interval(self.update, interval=self.INTERVAL)
The pymunk library has a couple of modules to help visualizing its entities in other libraries, like pygame, matplotlib and, more relevant to our case, pyglet. In the beginning of the module, the class pymunk.pyglet_util.DrawOptions, which has instructions on how to draw the current state of the space on screen, was imported. Now we instantiate it in __init__ to use it later.
We also create an instance of pyglet.window.key.KeyStateHandler and pass it to self.push_handlers, which will allow us to verify which keys are being pressed at any time.
Finally, we use pyglet.clock.schedule_interval to execute the update method periodically, every interval seconds. It’s in this method that we’ll process keyboard input and update our simulation state.
With all elements instantiated and configured, now we’ll draw all the entities in the screen. For that, we override the on_draw method, from pymunk.window.Window:
    def on_draw(self) -> None:
        self.clear()
        self.space.debug_draw(options=self.draw_options)
The first step is to clean the screen with self.clear() and then call debug_draw from our simulated space.
In update, we call self.space.step() to update its state:
    def update(self, dt: float) -> None:
        self.space.step(dt=self.INTERVAL)
The step function accepts an argument dt, which is the time delta for the simulation. We use the same INTERVAL constant as a way to keep the simulation in real time.
If we wanted to make a slow motion simulation, we could pass a fraction of INTERVAL to step (e.g. self.INTERVAL / 2). It’s also possible to multiply this value to make it faster than real time, but the simulation will lose precision.
It’s important to note that
updatealso receives adtargument, which represents how much time passed since the last invocation. This happens becauseschedule_intervaldoesn’t follow the given interval perfectly. Any varation in CPU usage can cause fluctuations to the interval.While it’s very tempting to use the
dffromupdatedirectly instep, as a way to make the simulation completely synchronized with real time, the practice is very discouraged! The PyMunk recomendation is to use a fixed time step. Variations to the simulation step can cause unexpected behaviour, specially in regards to collision calculation.
Currently, it’s already possible to execute the simulation:
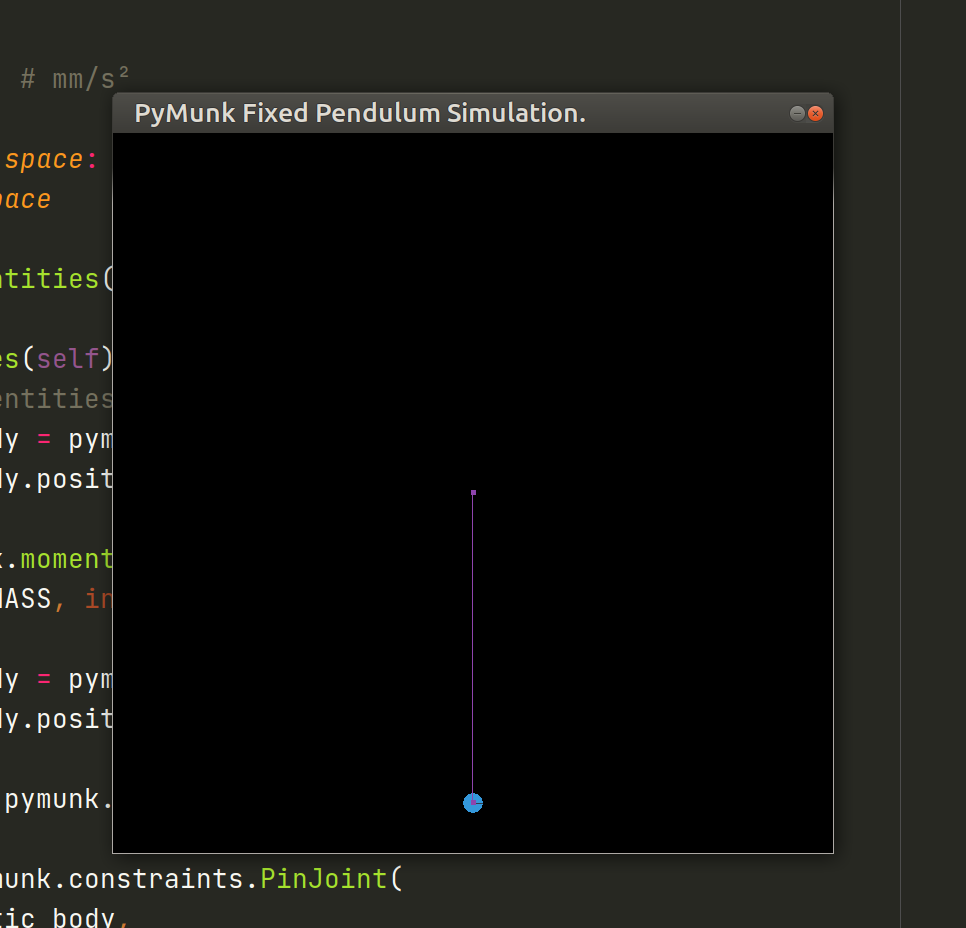
But nothing is happening! This happens because the pendulum is in a complete steady state, since there are no forces other than gravity being applied.
To make the simulation dynamic, we extend the Pendulum class:
    @property
    def vector(self) -> Vec2d:
        """Pendulum Vector, from Fixed point to the center of the Circle."""
        return self.circle_body.position - self.static_body.position

    def accelerate(self, direction: Vec2d):
        """Apply force in the direction `dir`."""
        impulse = self.FORCE * direction.normalized()
        self.circle_body.apply_impulse_at_local_point(impulse=impulse)
The vector property will represent the pendulum itself, starting from the static point and pointing to the center of the circle. Objects of the Body class have the position attribute, which is a Vec2d, so subtracting the position of static_body from circle_body will generate the pendulum vector.
The accelerate method will apply a force to the circle of our pendulum. It receives the direction argument, which determines the direction of the force that is going to be applied.
The FORCE constant is a scalar magnitude. To make it a vector, we normalize the direction vector (preserving its direction while forcing it to have a magnitude of 1), and then we multiply it by the constant.
This vector is called impulse because it’s representing an instantaneous force. This is an important distinction for pymunk, which has 2 methods to apply a force to a body:
apply_force_at_local_pointapply_impulse_at_local_point
apply_force_ applies a constant force, meaning it will continue to affect the body until it’s ceased. As an example, this could represent a vehicle engine. apply_impulse_ applies an instantaneous force, only altering the velocity and direction of the body in the next simulation step. This is a behaviour similar to a projectile being fired from a cannon, for example.
There’s also the methods apply_force_at_world_point and apply_impulse_at_world_point. The difference is how the force coordinates are processed in relation to the object. local_point applies forces like they’re being generated from the own object, like a propulsion system. world_point is used when the forces are being generated externally.
With accelerate defined, the idea is to apply forces to the pendulum based on the keyboard input:
    def _handle_input(self):
        if self.keyboard[key.LEFT]:
            direction = self.model.vector.rotated_degrees(-90)  # CW
            self.model.accelerate(direction=direction)
        elif self.keyboard[key.RIGHT]:
            direction = self.model.vector.rotated_degrees(90)  # CCW
            self.model.accelerate(direction=direction)

    def update(self, dt: float) -> None:
        self._handle_input()
        self.space.step(dt=self.INTERVAL)
The _handle_input method is called from update, right before updating the simulation.
self.keyboard is an instance of KeyStateHandler, which works as a dictionary, indicating which keys are being pressed at that moment.
This attribute is used to apply a Clockwise force when left is pressed and a Counter clockwise force when right is pressed. Since the pendulum has a circular trajectory, it’s necessary to make the applied forces always perpendicular to the pendulum vector, like illustrated in this diagram:

This is done by taking self.model.vector and calling the rotated_degrees method, rotating it by -90 or 90 degrees, depending on the key being pressed. We don’t need to worry about the length of the vector, since it will be normalized inside accelerate.
Now our simulation is complete! It’s possible to make our pendulum move using the keyboard:
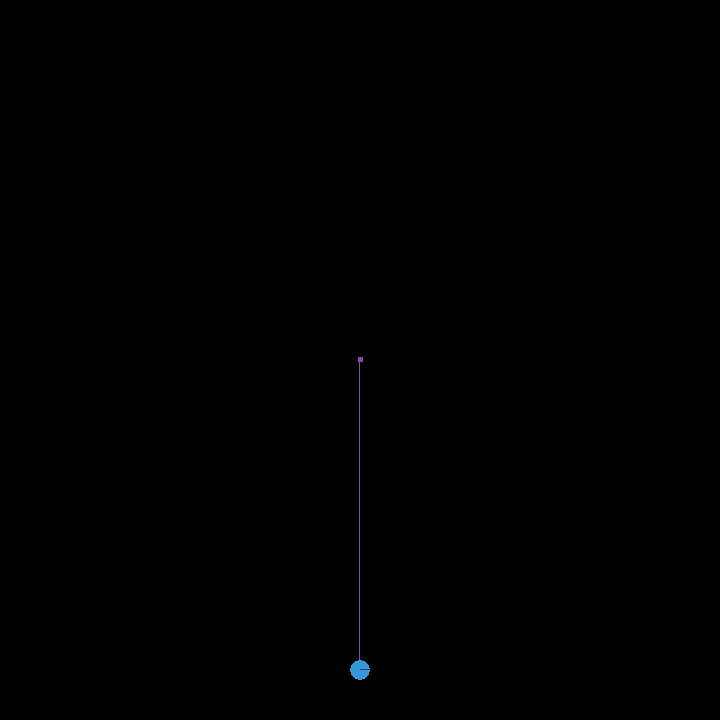
The complete code for this simulation can be found in this GIST